
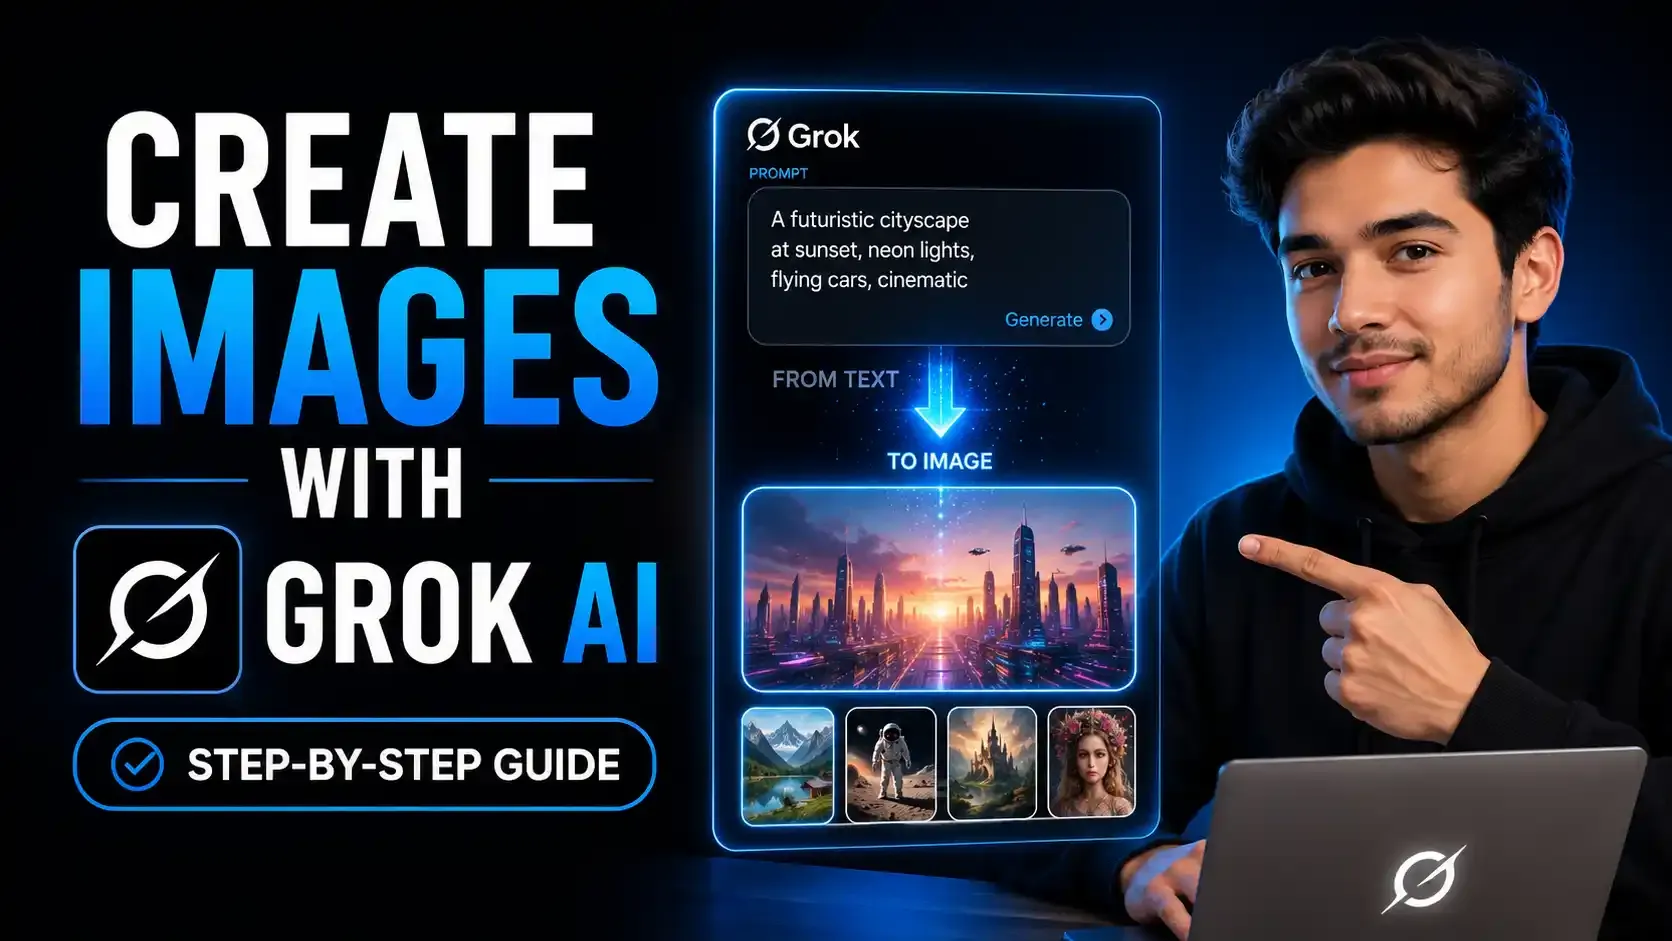
A beginner-friendly guide to generating and editing AI images using Grok AI and Grok Imagine.
How to Create Images Using Grok AI: Complete Step-by-Step Guide
Table of Contents
- Introduction
- What Is Grok AI Image Generator?
- Method 1: Create Images Using Grok Chat
- Example Prompt
- Why the Chat Method Is Useful
- Image Options Available in Grok Chat
- Convert Grok Images Into Videos
- Use the Creative Option for Style Changes
- Change the Background in Grok
- Modify the Subject Appearance
- Use Custom Prompt Edits
- Top Options in Grok Image Editor
- Original Image
- Regenerate
- Download
- Share
- Method 2: Create Images Using Grok Imagine
- How to Generate Images in Grok Imagine
- Example Prompt
- Grok Imagine Generates Multiple Images
- Edit Images Inside Grok Imagine
- Download and Share Images
- Chat Method vs Grok Imagine: Which One Should You Use?
- Important Note About Free Credits
- Best Prompt Tips for Grok Images
- Simple Grok Prompt Formula
- Best Grok Image Prompts to Try
- Cinematic Portrait Prompt
- Fantasy Character Prompt
- Product Image Prompt
- Travel Poster Prompt
- Animal Image Prompt
- Common Mistakes to Avoid
- Best Uses for Grok Image Generation
- Final Thoughts
Introduction
Grok AI is not only a chatbot. It can also generate images, edit them, apply creative styles, change backgrounds, modify subjects, and even turn still images into short videos.
If you are new to Grok, the image generation process is simple. You can create images directly from the normal chat prompt box, or you can use the dedicated Grok Imagine section for generating multiple images and videos.
In this guide, you will learn how to create images using Grok AI step by step. We will cover both methods, how to edit images, how to use style presets, how to change backgrounds, how to download images, how to share them, and how to avoid using free credits too quickly.
What Is Grok AI Image Generator?
Grok AI is an AI assistant from xAI that can answer questions, analyze content, generate visuals, and support creative workflows. One of its useful features is AI image generation.
With Grok image generation, you can type a simple prompt and get AI-generated images within seconds. You can also edit the image using built-in options such as creative styles, background changes, subject modifications, and custom prompt-based edits.
This makes Grok useful for:
- Social media images
- Blog thumbnails
- AI art concepts
- Character visuals
- Creative edits
- Image-to-video ideas
- Design inspiration
- Fun AI experiments
- Visual content creation
Method 1: Create Images Using Grok Chat
The first and easiest way to create images in Grok is by using the normal chat prompt box.
To start, visit the official Grok website and open the chat section. In the prompt box, type what kind of image you want Grok to create.
Example Prompt
“Generate an image of a man wearing a Superman-style superhero suit.”
After entering your prompt, press enter. Grok will generate images based on your request.
When using the chat method, Grok usually creates two image options. You can open either image and continue editing it.
Why the Chat Method Is Useful
The chat method is best for simple and quick image generation. It is also useful because it keeps the image creation inside your conversation.
This means you can keep improving the image with follow-up prompts.
For example, after generating an image, you can say:
- Make it more cinematic
- Change the background
- Add dramatic lighting
- Make it more realistic
- Remove glasses
- Change the outfit
- Make it look like a poster
- Convert it into a video
This makes Grok easy to use even for beginners.
Image Options Available in Grok Chat
After opening a generated image, Grok shows several useful options below the image.
These options may include:
- Make Video
- Creative
- Background
- Subject
- Custom prompt edit
- Regenerate
- Download
- Share
- Return to original image
Each option helps you modify the image in a different way.
Convert Grok Images Into Videos
One of the most interesting options is Make Video.
After generating an image, you can click the Make Video option to turn the still image into a short AI video. This is useful if you want to create social media clips, animated previews, motion content, or short visual experiments.
Instead of using a separate AI video tool, Grok allows you to start from the image you already generated.
This can be useful for:
- Instagram Reels
- YouTube Shorts
- TikTok videos
- Motion thumbnails
- AI video experiments
- Creative social media content
Use the Creative Option for Style Changes
The Creative option lets you transform your image into different styles using preset templates.
For example, you can select a graffiti style to turn your original image into a street-art-inspired version. Grok will process the image and generate new styled versions.
Creative presets are useful when you want to test different looks quickly without writing a long prompt.
Popular style ideas include:
- Graffiti style
- Cartoon style
- Cinematic style
- Poster style
- Comic style
- Artistic style
- Futuristic style
- Fantasy style
This feature is useful for creators who want multiple versions of the same image.
Change the Background in Grok
The Background option allows you to change the background of your image using presets.
For example, you can choose a location such as London, and Grok will place the subject into a London-style background.
This is useful when you like the subject but want a different setting.
You can use background changes for:
- Travel-style edits
- City background images
- Fantasy environments
- Professional backgrounds
- Social media edits
- Poster concepts
When changing backgrounds, always check whether the subject still looks natural. Sometimes lighting or identity details may slightly change after editing.
Modify the Subject Appearance
The Subject option lets you change the appearance of the main subject in the image.
Depending on the available presets, you may be able to add:
- Stylish hat
- Mustache
- Superhero outfit
- Golden eyes
- Time traveler style
- Fantasy costume
- Futuristic look
- Other creative transformations
For example, selecting a “time traveler” style can completely transform the image into a sci-fi or futuristic version.
This is useful for fun edits, character concepts, posters, and creative image variations.
Use Custom Prompt Edits
Below the preset options, Grok also provides a prompt bar where you can type custom edits.
For example, you can type:
“Remove glasses.”
Then press enter, and Grok will edit the image based on your instruction.
Custom prompt editing is useful when the preset options do not match what you want.
You can try prompts like:
- Remove the glasses
- Change the background to a city street
- Make the image more cinematic
- Add dramatic lighting
- Make the suit black
- Add a glowing effect
- Make the character look older
- Add rain in the background
However, keep in mind that heavy edits may change important subject details. If you are editing a real-person-inspired image or a character that needs to stay consistent, always check the final result carefully.
Top Options in Grok Image Editor
At the top of the image editor, Grok provides additional useful controls.
These usually include:
Original Image
This option returns you to the original generated image.
Use this if you do not like the edit and want to go back.
Regenerate
This creates a new version of the edited image.
Use this when the result is close but not perfect.
Download
This saves the image to your device.
Use this when you want to upload the image to your website, social media, blog, or design project.
Share
This creates a shareable link that you can send to others.
Use this when you want to share the result with a team member, client, or friend.
Method 2: Create Images Using Grok Imagine
The second method is using the Imagine option in the left sidebar.
Grok Imagine is a dedicated dashboard for generating images and videos. It is better when image generation is your main focus and you want to browse many results.
To use it, click Imagine from the left sidebar. You will see a prompt field at the bottom along with an option to attach reference images.
How to Generate Images in Grok Imagine
Follow these steps:
- Open Grok.
- Click Imagine from the left sidebar.
- Type your image prompt.
- Attach a reference image if needed.
- Select your preferred aspect ratio.
- Choose whether you want images or video.
- Select Images.
- Press enter and wait for results.
Example Prompt
“Man sitting on an elephant.”
After a few seconds, Grok Imagine will generate multiple image results.
Grok Imagine Generates Multiple Images
One unique thing about Grok Imagine is that it generates many images. As you keep scrolling, more images continue to appear.
This makes it useful for exploring different creative variations.
Instead of getting only one or two images, you can browse through many results and choose the version you like best.
This is helpful for:
- Finding better compositions
- Comparing styles
- Testing prompts
- Exploring visual ideas
- Creating inspiration boards
- Selecting the best image for editing
Edit Images Inside Grok Imagine
After selecting an image in Grok Imagine, you can continue editing it.
You may see options to:
- Generate a video from the image
- Enter a video prompt
- Select video presets
- Download the image
- Share the image
- Continue editing
For example, after selecting an image, Grok may prompt you to create a video from it. You can enter a short video prompt, choose a preset, and click Make Video.
This makes Grok Imagine useful for both image generation and basic AI video creation.
Download and Share Images
Once you like an image, you can download it directly to your device.
Use the download option if you want to:
- Upload it to your website
- Use it as a blog thumbnail
- Share it on social media
- Add it to a design project
- Save it for later editing
The share option creates a link that you can send to others. This is useful for team collaboration or client review.
Chat Method vs Grok Imagine: Which One Should You Use?
Both methods are useful, but they work best for different situations.
| Feature | Grok Chat | Grok Imagine |
|---|---|---|
| Best for | Quick images and edits | Multiple image exploration |
| Number of outputs | Usually fewer images | Many image variations |
| Editing | Easy follow-up edits | Visual browsing and image/video workflow |
| Credit usage | Better for saving credits | Uses credits faster |
| Best users | Beginners and casual creators | Creators exploring many image ideas |
If you want to conserve credits, the chat section may be better. If you want more image variations and visual exploration, Grok Imagine is better.
Important Note About Free Credits
When using Grok Imagine, your free credits may be consumed quickly because it generates many images and supports video creation.
If your free credits run out, you may need to purchase a paid plan before generating more images.
For beginners, it is better to start with the chat method because it usually creates fewer images and helps conserve credits.
Use Grok Imagine when you are ready to explore multiple variations or generate images for a more serious project.
Best Prompt Tips for Grok Images
To get better results from Grok, write clear and specific prompts.
Instead of writing:
“Man on elephant”
Write:
“A cinematic image of a man sitting on a decorated elephant during a cultural festival, warm golden light, realistic details, colorful fabric, crowd in the background, professional photography style.”
A better prompt should include:
- Subject
- Action
- Background
- Style
- Lighting
- Mood
- Details
- Aspect ratio if needed
Simple Grok Prompt Formula
Subject + Action + Background + Style + Lighting + Details
Example:
“A young explorer standing in a neon-lit futuristic city, cinematic cyberpunk style, rain reflections on the street, dramatic lighting, realistic detail, 16:9.”
Best Grok Image Prompts to Try
Here are some Grok image prompt examples:
Cinematic Portrait Prompt
“Create a cinematic portrait of a young entrepreneur standing in a glass office at night, city lights in the background, dramatic side lighting, realistic skin texture, professional editorial photography, 4:5.”
Fantasy Character Prompt
“Create a fantasy warrior standing on a mountain cliff, glowing sword, stormy sky, cinematic lighting, highly detailed armor, epic fantasy poster style, 16:9.”
Product Image Prompt
“Create a premium product photo of a black smartwatch on a dark marble surface, soft studio lighting, sharp reflections, luxury advertisement style, ultra-realistic, 1:1.”
Travel Poster Prompt
“Create a travel poster of London at sunset, red double-decker bus, Big Ben in the background, warm cinematic lighting, clean modern poster style, 4:5.”
Animal Image Prompt
“Create a realistic image of a man sitting on a decorated elephant in a beautiful natural landscape, warm sunlight, colorful details, cinematic photography, 16:9.”
Common Mistakes to Avoid
When creating images in Grok, avoid these mistakes:
- Writing very short prompts
- Not describing the background
- Forgetting lighting details
- Not mentioning style
- Using too many edits at once
- Overusing Imagine and wasting credits
- Not downloading good results immediately
- Expecting every edit to preserve identity perfectly
- Not checking image details after edits
- Using vague prompts like “make it better”
The more specific your prompt is, the better your image will usually be.
Best Uses for Grok Image Generation
Grok image generation can be used for many creative purposes:
- Blog thumbnails
- Social media posts
- AI art
- Character concepts
- Poster ideas
- Product visuals
- Story visuals
- YouTube thumbnails
- Creative edits
- Background replacement
- Image-to-video experiments
- Marketing content
Whether you are a beginner or a content creator, Grok can help you quickly turn ideas into visuals.
Final Thoughts
Grok makes AI image generation simple. You can create images directly from the chat prompt box or use the Grok Imagine dashboard for more image variations and video options.
The chat method is best for beginners, quick edits, and saving credits. Grok Imagine is better when you want to explore many image results or create videos from your images.
You can also edit your images using creative styles, background presets, subject modifications, and custom prompt-based changes.
If you are just starting, use the chat section first. Once you understand how prompts work, try Grok Imagine for more advanced image generation and video workflows.
With the right prompt, Grok can help you create high-quality images for blogs, social media, creative projects, and marketing content.
Frequently Asked Questions
Can Grok generate images?
Yes, Grok can generate images using the normal chat prompt box and the Grok Imagine section. You can type a prompt and Grok will create AI-generated images.
How do I create images in Grok?
You can create images in Grok by typing an image prompt in the chat box or by opening Grok Imagine from the sidebar, entering your prompt, selecting an aspect ratio, and choosing image generation.
What is Grok Imagine?
Grok Imagine is a dedicated image and video generation dashboard inside Grok. It allows users to create multiple images, browse variations, attach references, and generate videos from images.
Can Grok turn images into videos?
Yes, Grok can turn selected images into short videos using the Make Video option, depending on the available interface and plan.
Does Grok use free credits for image generation?
Yes, image generation may use free credits, especially inside Grok Imagine. The Imagine section can consume credits quickly because it generates many images and supports video creation.
Which is better: Grok Chat or Grok Imagine?
Grok Chat is better for quick image generation and saving credits, while Grok Imagine is better for generating many image variations and exploring image-to-video workflows.
Can I edit Grok images after generating them?
Yes, Grok provides editing options such as creative styles, background changes, subject modifications, custom prompt edits, regeneration, download, and sharing.